Does your house have wood doors, wood casings, wood cabinets? Ours does.
Put that, animals, and kids that love rolling toys {and toys that don’t roll, just dent} and you’ve got knicks and scratches all day long.
Why Restore Rather Than Replace?
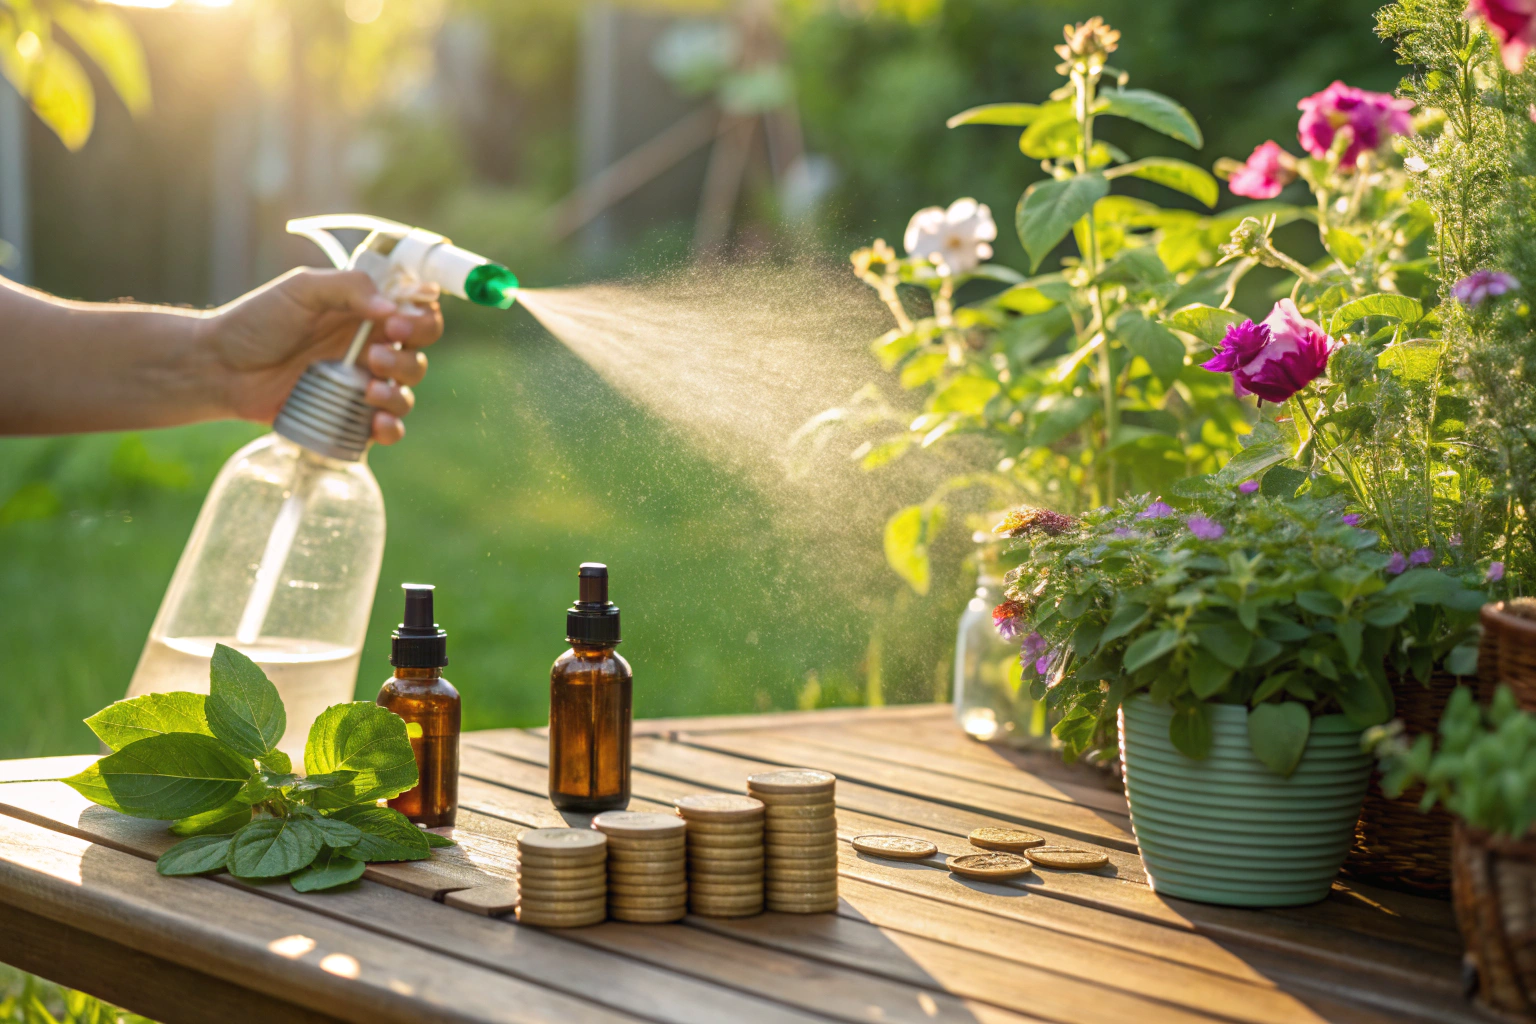
Restoration offers compelling advantages over replacement. A recent client saved $3,200 by restoring a 1940s dining set instead of buying new furniture. Beyond financial benefits, restoration prevents quality hardwood from entering landfills while preserving superior construction quality rarely found in modern mass-produced furniture.
Benefits of Wood Restoration:
- Financial savings: Typically costs 40-60% less than comparable new furniture
- Superior quality: Vintage pieces often feature better construction than modern alternatives
- Environmental impact: Prevents quality wood from entering landfills
- Sentimental value: Transforms family heirlooms into functional treasures
Understanding Different Types of Wood Damage
Proper damage identification determines restoration success. I’ve categorized wood damage into five primary types:
- Surface finish damage: Cloudiness, scratches, or worn areas affecting only the topcoat
- Water damage: White rings, dark stains, or warped surfaces
- Structural damage: Loose joints, cracks, or missing wood sections
- Chemical damage: Discoloration or finish breakdown from harsh cleaners
- Age-related deterioration: Natural darkening, minor cracking, or general wear
Assessment and Planning
Begin assessment in natural light, examining the piece from multiple angles. Press gently on joints to detect looseness. Run your hand across surfaces to feel scratches or raised grain.
Professional Assessment Steps:
- Test all joints and connections for movement
- Identify finish type and damage extent under good lighting
- Determine wood species through grain pattern and color
- Classify each issue by type and severity
- Assess whether restoration is cost-effective and technically feasible
Restoration vs. Refinishing vs. Refurbishing:
- Restoration: Preserves original character while addressing specific damage
- Refinishing: Complete finish removal and replacement for extensively damaged pieces
- Refurbishing: Cleaning and minor repairs without major intervention
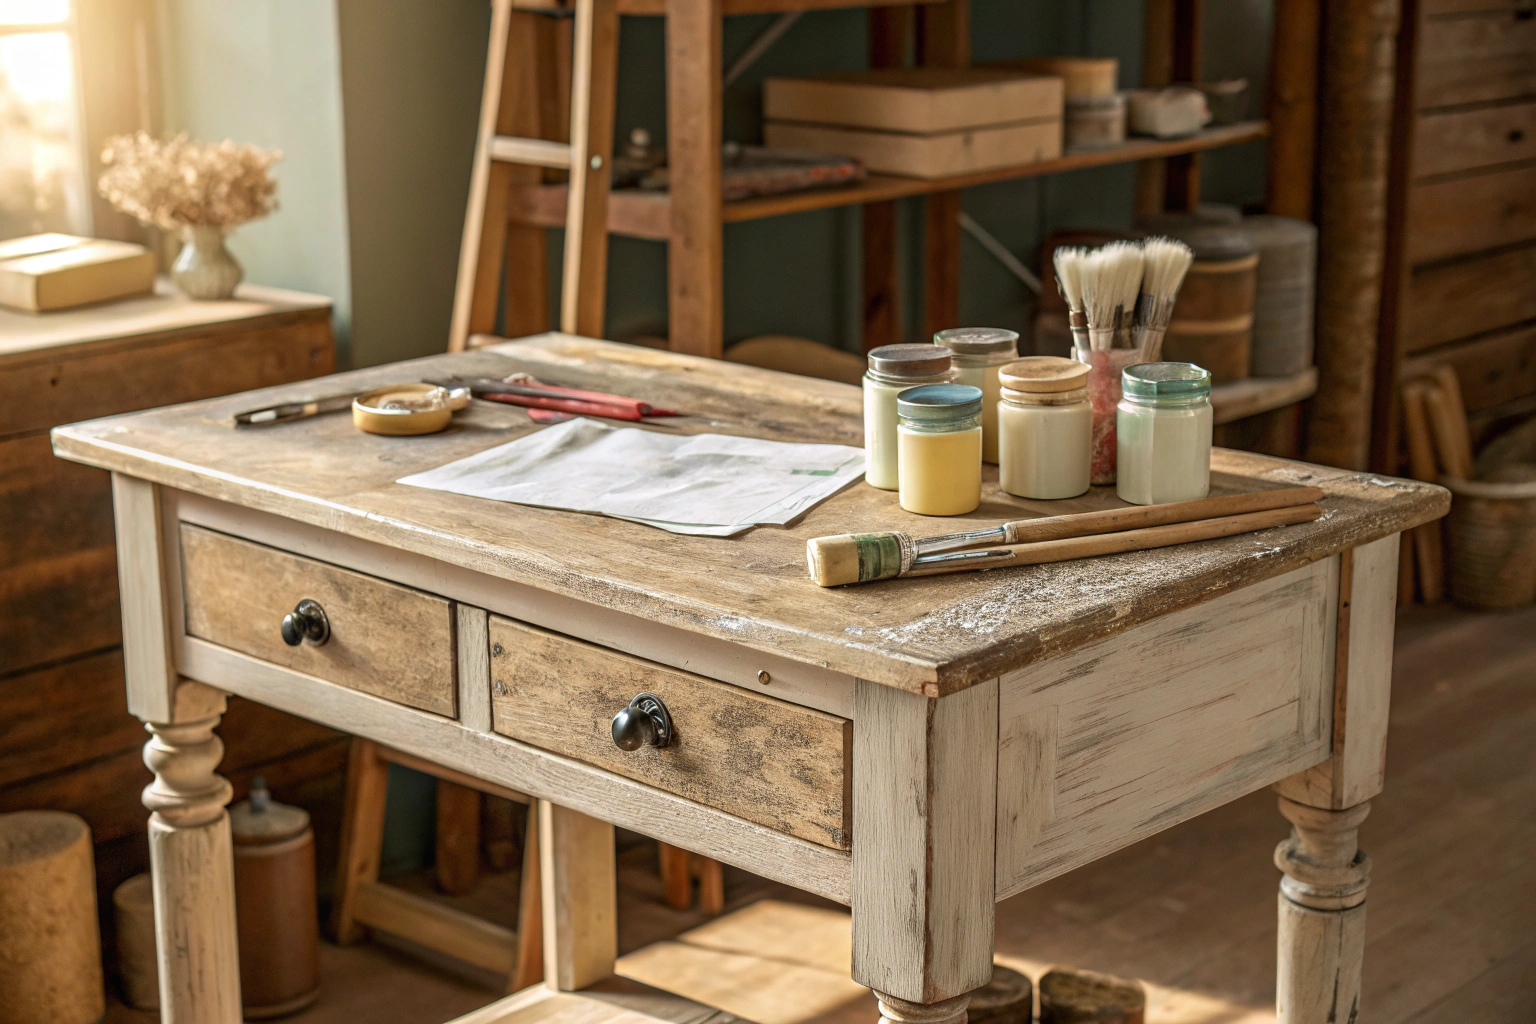
Essential Tools and Materials
Essential Tools:
- Orbital sander for efficient surface preparation
- Quality brushes (natural bristle for oil-based, synthetic for water-based)
- Scraper set for paint and finish removal
- Various clamps for structural repairs
- Hand sanders for detail work
Essential Materials:
- Sandpaper (120, 220, and 320 grit minimum)
- High-quality, stainable wood filler
- Gel-type chemical stripper for controlled application
- Mineral spirits and denatured alcohol
- Protective equipment (gloves, eye protection, respirator)
Step-by-Step Restoration Techniques
Preparation and Cleaning
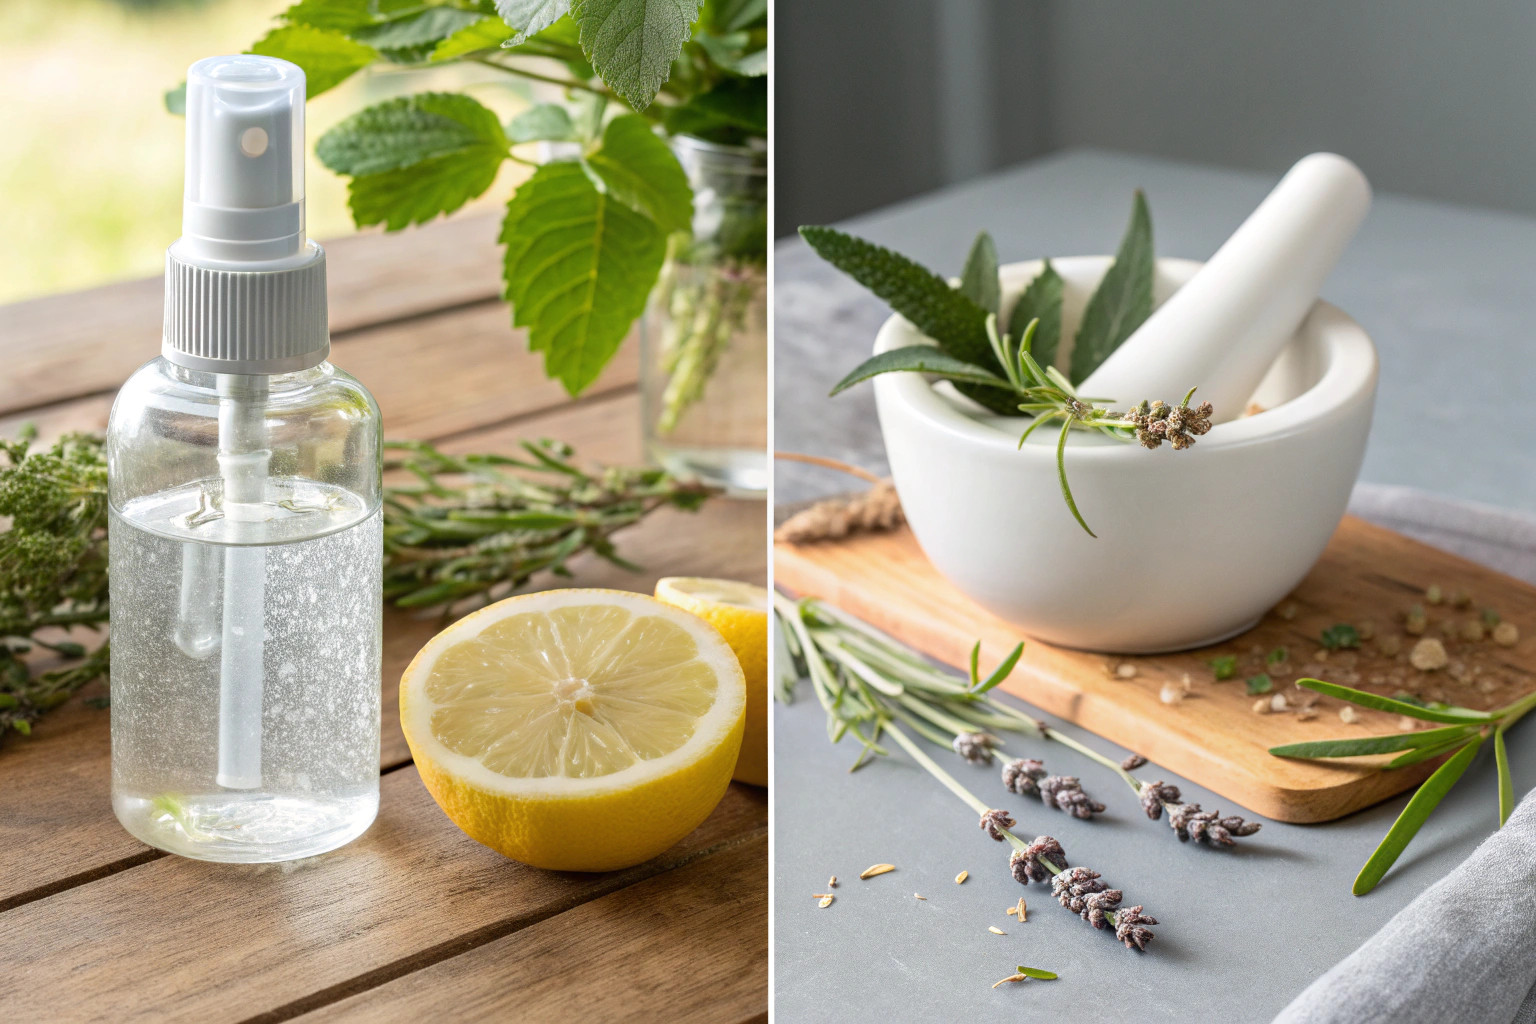
Proper preparation determines restoration success. Clean thoroughly before assessing true condition using mineral spirits for general cleaning, avoiding water-based cleaners.
Preparation Process:
- Remove surface dirt and grime with appropriate solvents
- Remove all hardware and label for reassembly
- Set up workspace with adequate ventilation and lighting
- Document original condition with photos
- Organize all tools and materials within reach
Surface Scratch Repair
Scratch Severity Assessment:
- Light scratches: Polish with paste wax or commercial scratch remover
- Moderate scratches: Sand lightly with 320-grit paper, apply matching stain if needed
- Deep scratches: Fill with matching wood filler, sand smooth, stain to match, apply topcoat
Always test repair techniques in hidden areas first. Color matching requires patience and often multiple attempts.
Water Damage Restoration
Water Damage Types and Solutions:
- White rings: Apply heat using hair dryer while rubbing with soft cloth
- Dark rings: Sand through damaged area, apply wood bleach if necessary, restain and refinish
- Raised grain: Sand lightly with 220-grit paper following wood grain
Structural Repairs
Common Issues and Solutions:
- Loose joints: Disassemble carefully, clean old glue, apply fresh wood glue, clamp securely
- Cracked wood: Clean crack, apply wood glue, clamp and sand smooth after curing
- Missing sections: Create template, cut replacement from matching wood, attach with glue
Finish Removal and Sanding
Removal Methods:
- Chemical stripping: Best for intricate details and multiple layers
- Sanding: Effective for simple surfaces, progress from 80 to 220 grit
- Heat guns: Useful for paint but require caution to prevent scorching
Sanding System:
- Coarse grit (80-100): Remove old finish and major imperfections
- Medium grit (120-150): Smooth surface and remove coarse scratches
- Fine grit (220): Create smooth surface ready for finishing
Always sand with the grain and remove all dust between grits.
Finishing and Protection
Staining Process
- Sand to 220-grit, remove all dust
- Apply pre-stain conditioner to softwoods
- Apply stain evenly with brush or cloth
- Maintain wet edge while working
- Wipe off excess stain with clean cloth
Test stain colors on sample boards first, as wood species significantly affect final appearance.
Finish Application
Application Techniques:
- Brush application: Use quality brushes, apply thin coats with long strokes following grain
- Multiple coats: Apply 2-3 thin coats rather than single thick application
- Between coats: Light sanding with 320-grit for smoothness
Finish Selection:
- Polyurethane: Excellent durability for high-use surfaces
- Lacquer: Smooth, professional appearance for decorative pieces
- Oil-based: Natural, low-sheen for character pieces
Maintenance and Troubleshooting
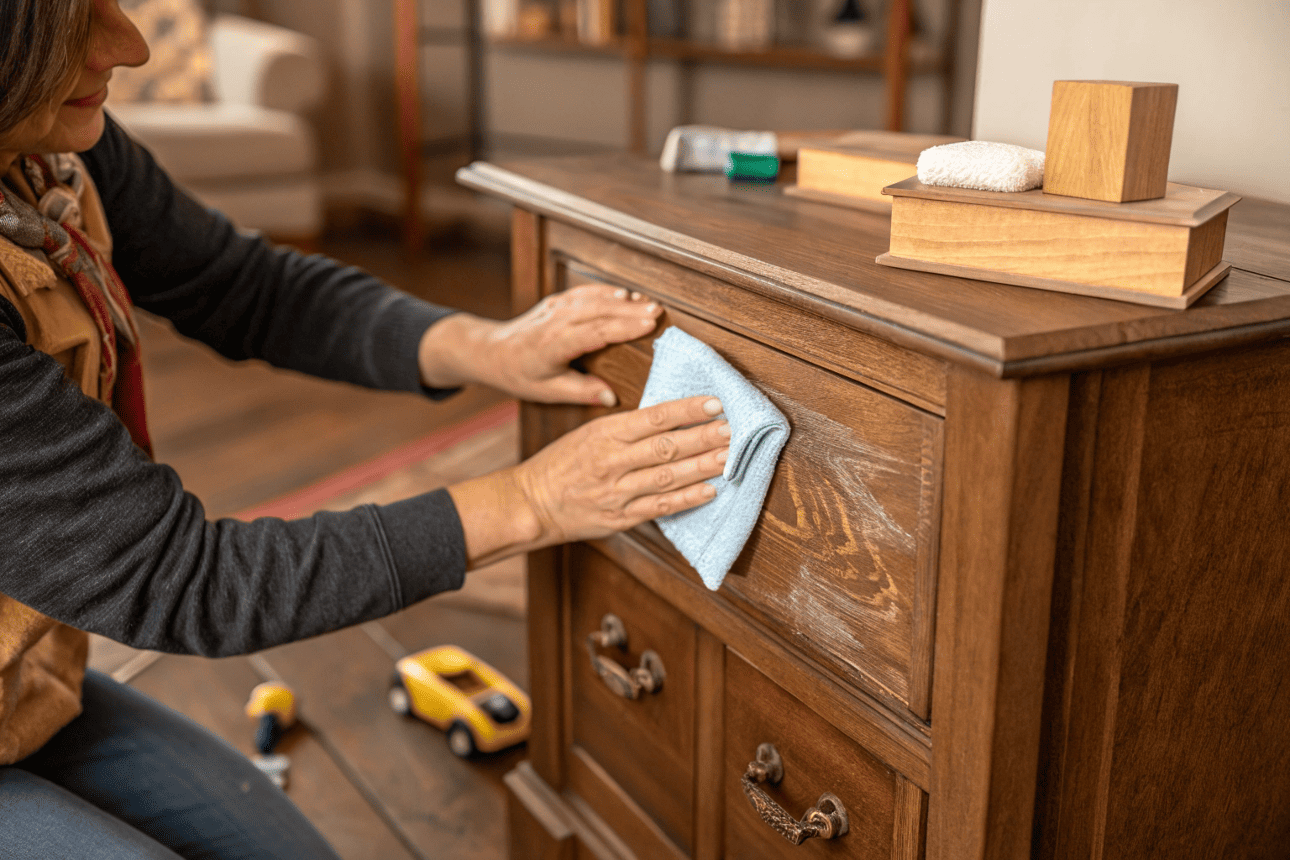
Maintenance Schedule:
- Weekly: Dust with microfiber cloth
- Monthly: Clean with appropriate wood cleaner
- Quarterly: Apply paste wax for protection
- Annually: Professional inspection and touch-up
Common Issues:
- Finish cloudiness: Light sanding and recoating
- Color inconsistency: Spot-sand and restain affected areas
- Raised grain: Light sanding with 320-grit paper
Professional Tips for Success
- Start simple: Begin with basic projects to build confidence
- Test first: Always test techniques in inconspicuous areas
- Document progress: Take photos throughout the process
- Safety first: Use appropriate protective equipment
- Patience pays: Allow proper drying time between steps
FAQ
How do I maintain restored pieces?
Dust weekly, clean monthly with appropriate products, apply protective wax quarterly, and maintain stable humidity levels.
How do I avoid common mistakes?
Don’t rush preparation, avoid inappropriate cleaning products, apply thin finish coats, and always test techniques in hidden areas first.
What’s the best way to restore without stripping?
Focus on thorough cleaning with mineral spirits, then address specific damage with targeted repairs like scratch fillers or heat treatment for water rings.
This article was overhauled in October 2025 to integrate current materials, modern methods, and updated tools.