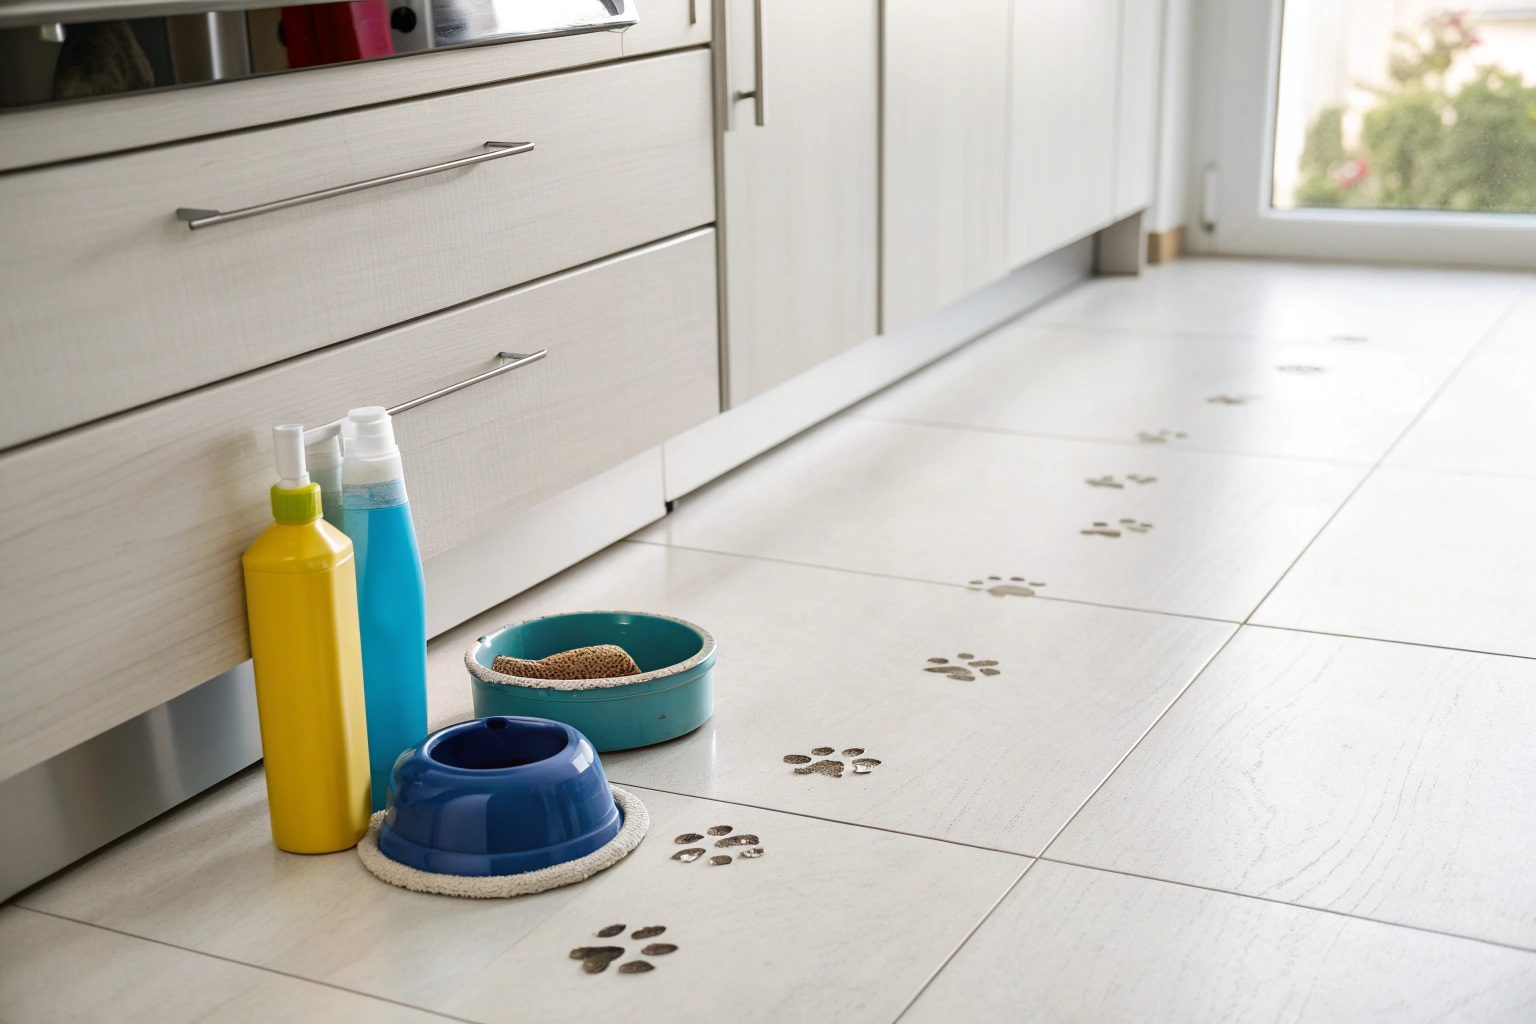
Reusable paper towels diy is a project for creating washable, cloth-based alternatives to single-use paper towels. This practice helps reduce household waste and long-term spending by using absorbent fabrics like cotton flannel, terry cloth, or even old t-shirts. They are a simple, effective, and customizable way to transition to a more sustainable kitchen routine, replacing the need for constant repurchasing of disposable products.
Key Benefits at a Glance
- Significant Cost Savings: Drastically cuts your grocery bill over time by eliminating the recurring expense of disposable paper towels.
- Reduces Household Waste: Lowers your environmental impact by preventing hundreds of paper towels from ending up in landfills each year.
- More Effective Cleaning: Offers superior absorbency and durability for scrubbing tough messes without tearing like single-use paper.
- Beginner-Friendly Project: Perfect for DIY novices, as they can be made with basic sewing skills or even no-sew methods using simple fabric cuts.
- Customizable and Safe: You control the materials, allowing you to choose organic, non-toxic fabrics that are safe for your family and home surfaces.
Purpose of this guide
This guide is for homeowners, renters, and anyone seeking eco-friendly and budget-conscious solutions. It solves the problem of constant spending on and disposal of paper towels by providing a practical DIY alternative. You will learn step-by-step methods for making your own reusable towels, including how to select the best absorbent fabrics and choose between sewing or no-sew options. We also cover common mistakes to avoid, like using synthetic fabrics that don’t absorb well, and provide tips for washing and care to ensure they last for years.
Why I made the switch to reusable paper towels
Three years ago, I stood in my kitchen staring at yet another empty paper towel roll, feeling frustrated by how quickly we burned through them. That moment sparked a journey toward sustainable cleaning that completely transformed our household routine and budget. The switch to reusable paper towels wasn't just about environmental consciousness—it became one of the most practical and cost-effective changes we've ever made.
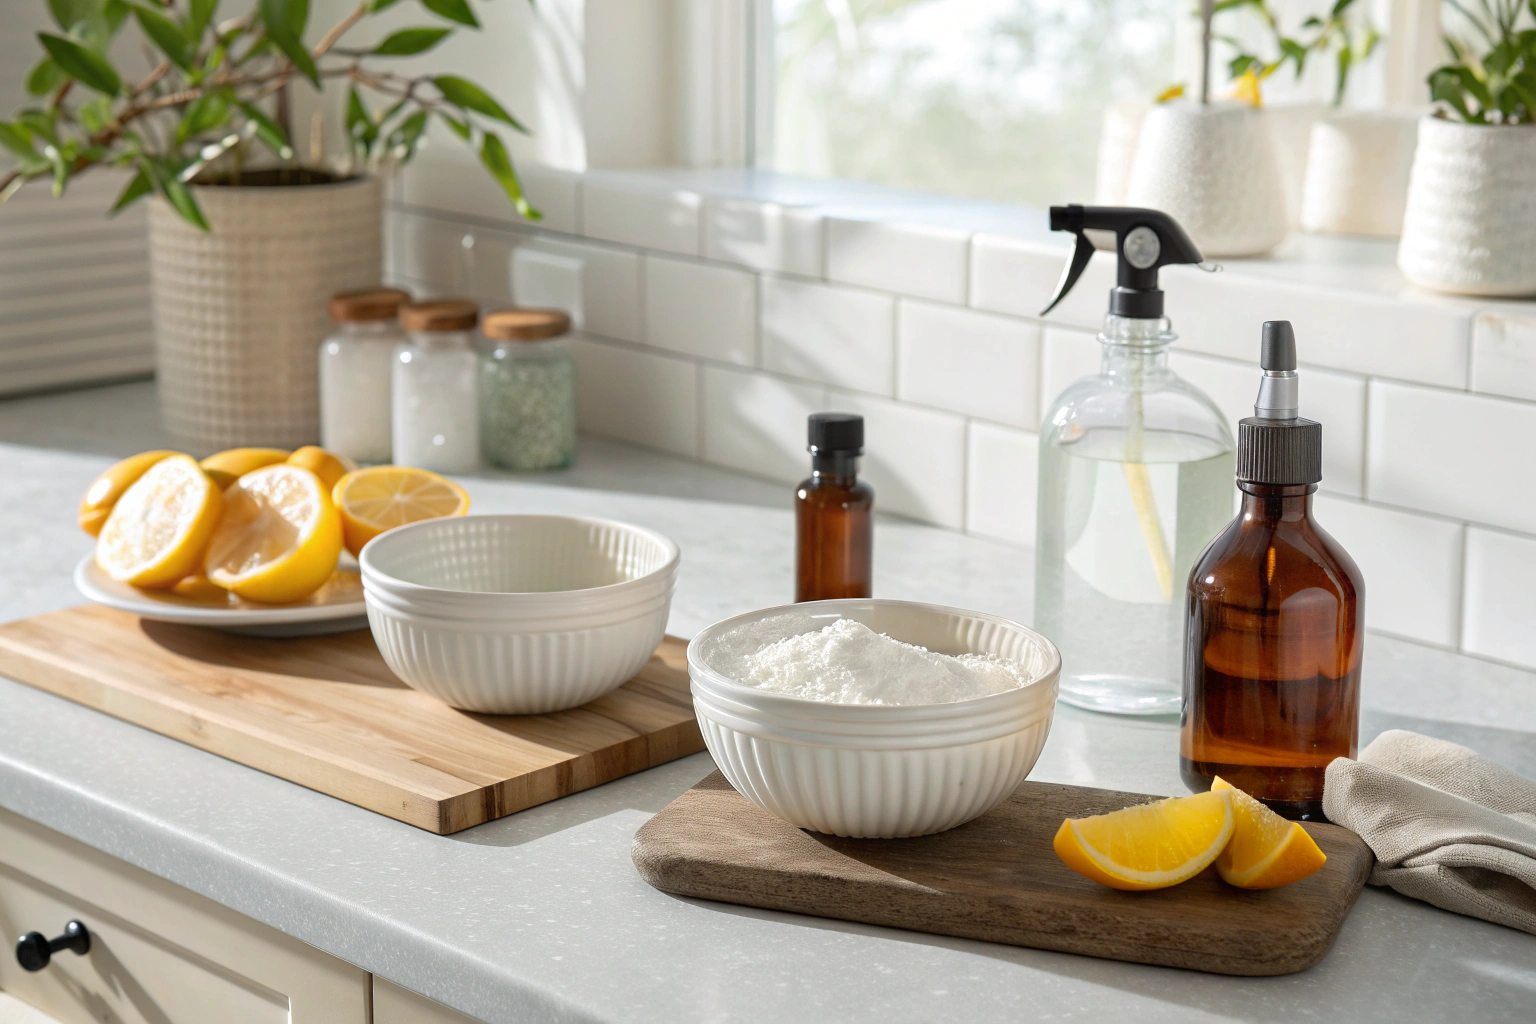
These towels work best with natural cleaners—try them with my DIY Natural Cleaner.
- Saves $100+ annually compared to disposable paper towels
- Reduces household waste by 1-2 paper towel rolls weekly
- Better cleaning performance with superior absorbency
- Eliminates plastic packaging waste from paper towel purchases
- Reduces chemical exposure from bleached paper products
The transformation didn't happen overnight. Initially, my family resisted the change, questioning whether cloth alternatives could match the convenience of grabbing a paper towel. However, after implementing the right systems and finding fabrics that actually outperformed disposable options, we haven't looked back. The financial impact alone made the effort worthwhile, but the environmental benefits and improved cleaning effectiveness sealed the deal.
Environmental impact of conventional paper towels
The environmental data behind paper towel production shocked me into action. When I discovered that the average American family uses over 100 rolls of paper towels annually, I realized we were contributing to a massive environmental problem without even thinking about it. The manufacturing process requires extensive resources, from the initial tree harvesting through chemical processing and transportation.
- Average household uses 2-3 paper towel rolls weekly
- Paper towel production requires 17 trees and 20,000 gallons of water per ton
- Manufacturing releases chlorine compounds and other pollutants
- Paper towels take 2-4 weeks to decompose but create methane in landfills
What particularly struck me was learning about the chemical bleaching process. Most paper towels undergo chlorine bleaching to achieve that bright white appearance, releasing dioxins and other toxic compounds into waterways. Even though paper towels are technically biodegradable, they often end up in landfills where they decompose anaerobically, producing methane gas that contributes to greenhouse emissions.
The packaging waste added another layer of environmental concern. Each paper towel purchase includes plastic wrapping, and bulk purchases generate even more packaging materials. By switching to reusable alternatives, we eliminated this ongoing stream of plastic waste while reducing our carbon footprint from repeated manufacturing and transportation.
The real cost savings analysis
Tracking our family's paper towel expenses revealed spending patterns I hadn't fully appreciated. Over one month, I documented every paper towel use and calculated we were spending approximately $10 monthly on paper towels—$120 annually for a product we literally threw away after single use. This exercise provided the foundation for comparing long-term costs with reusable alternatives.
| Time Period | Disposable Paper Towels | Reusable Towels | Total Savings |
|---|---|---|---|
| Initial Investment | $0 | $25 | -$25 |
| Year 1 | $120 | $35 (laundry) | $60 |
| Year 2 | $240 | $70 (laundry) | $145 |
| Year 5 | $600 | $175 (laundry) | $400 |
The calculation includes often-overlooked costs like additional water and electricity for washing reusable towels. I estimated these costs conservatively, assuming one extra load of laundry weekly dedicated to cleaning cloths. Even accounting for detergent and utility costs, the savings became substantial after the first year.
The break-even point occurred around month eight, when accumulated savings offset the initial fabric investment. By year two, we had saved enough to fund other sustainable household improvements. The five-year projection shows savings of $400, money that now goes toward other family priorities rather than disposable products.
Choosing the right materials for your DIY reusable towels
After extensive testing with various fabric types, I discovered that material selection dramatically impacts both performance and durability. The wrong fabric choice can lead to poor absorbency, quick wear, or inadequate cleaning power, potentially derailing the entire switch to reusable alternatives. Through trial and error with dozens of fabric combinations, I developed a systematic approach to material selection.
| Fabric Type | Absorbency Level | Durability Rating | Cost per Yard | Eco-Friendliness |
|---|---|---|---|---|
| Terry Cloth | Very High | 5/5 | $8-12 | 4/5 |
| Cotton Flannel | High | 4/5 | $6-10 | 5/5 |
| Microfiber | Very High | 3/5 | $5-8 | 2/5 |
| Linen | Medium | 5/5 | $12-18 | 5/5 |
| Old T-shirts | Medium | 3/5 | Free | 5/5 |
Terry cloth emerged as the top performer for heavy-duty cleaning tasks, with loops that trap dirt and absorb significant liquid volumes. However, it requires more care during washing to maintain texture and can be slower to dry. Cotton flannel provides excellent balance between absorbency and gentleness, making it perfect for delicate surfaces and general cleaning.
Microfiber delivers superior cleaning power and absorbency but raises environmental concerns due to synthetic materials and microplastic shedding during washing. Linen offers exceptional durability and becomes more absorbent with age, though the higher initial cost and moderate absorbency make it better suited for specific applications rather than general use.
The most sustainable option—repurposing old t-shirts and clothing—provides decent performance at zero cost while maximizing textile lifecycle. These materials work particularly well for dusting and light cleaning tasks, though they lack the absorbency needed for major spills.
Best fabric combinations for different cleaning tasks
Testing various fabric combinations against specific cleaning challenges revealed that strategic pairing significantly improves performance over single-material towels. The key insight was matching fabric properties to cleaning requirements rather than using one-size-fits-all solutions.
- Kitchen spills: Terry cloth + cotton flannel for maximum absorbency
- Bathroom surfaces: Microfiber + cotton for streak-free cleaning
- Glass and mirrors: Smooth cotton + linen for lint-free results
- Dusting: Flannel + old t-shirt material for gentle surface care
- Heavy-duty cleaning: Double-layer terry cloth for scrubbing power
The kitchen spill combination proved invaluable during a memorable Thanksgiving disaster when a full gravy boat overturned. The terry cloth side absorbed the liquid while the flannel backing prevented seepage, containing the mess with two towels instead of half a paper towel roll. This combination handles everything from minor coffee spills to major cooking accidents.
For bathroom cleaning, the microfiber-cotton pairing eliminates streaking on mirrors and glass surfaces while the cotton side handles general surface cleaning. The microfiber's electrostatic properties attract dust and hair, while cotton provides chemical-free cleaning power for countertops and fixtures.
Glass cleaning demanded the smoothest possible surface to prevent streaking and lint residue. The cotton-linen combination delivers professional results, with linen's tight weave providing streak-free finishing while cotton handles initial cleaning and moisture removal.
Where to source materials without buying new
Sourcing materials sustainably became a creative challenge that ultimately reduced project costs while supporting circular economy principles. The best sources emerged through systematic exploration of local options and online marketplaces focused on textile reuse.
- Old t-shirts and worn clothing make excellent cleaning cloths
- Thrift store bed linens provide large fabric quantities cheaply
- Fabric remnant bins at craft stores offer variety at low cost
- Worn bath towels can be cut into smaller cleaning squares
- Online marketplaces often have bulk fabric lots from estate sales
Thrift stores proved to be goldmines for quality fabrics at fraction of retail prices. Sheet sets, particularly those with minor stains or wear, provide enormous amounts of fabric for under $5. I learned to look past cosmetic imperfections since these materials would become cleaning cloths anyway. The key was feeling fabric quality and checking fiber content labels for natural materials.
Estate sales and online fabric lots offered surprising variety and value. Many crafters sell accumulated fabric stashes, often including high-quality materials purchased for projects never completed. These sources frequently provide materials at $1-3 per yard compared to $8-15 retail pricing.
Family and friends became unexpected contributors once they learned about the project. Worn clothing, damaged linens, and outgrown items that would otherwise be discarded found new life as cleaning supplies. This approach strengthened community connections while diverting textiles from waste streams.
Pre-treating and preparing your fabrics
Learning proper fabric preparation the hard way—through shrinkage disasters and poor performance—taught me that this step determines long-term success. Skipping pre-treatment led to towels that shrank unevenly, lost absorbency, or fell apart after several washes.
- Wash new fabrics at highest appropriate temperature to pre-shrink
- Dry completely using normal heat settings to ensure maximum shrinkage
- Iron fabrics smooth for accurate measuring and cutting
- Trim selvage edges and square corners before construction
- Test fabric absorbency after preparation to confirm performance
The pre-shrinking process prevents size changes after construction that could affect storage systems or snap-together mechanisms. I learned to be aggressive with this step, using hot water and high heat drying to force maximum shrinkage upfront. Natural fabrics typically shrink 3-5% in both directions, enough to significantly impact finished dimensions.
Testing absorbency after preparation revealed dramatic differences between fabric types and sources. Some materials that seemed promising before washing lost performance due to fabric softeners, previous treatments, or fiber quality. This testing step prevents disappointment after investing time in construction.
Proper squaring and edge preparation creates professional-looking results while ensuring consistent dimensions across the entire batch. Taking time to iron and measure accurately pays dividends during construction, especially for methods requiring precise snap placement or edge finishing.
Four methods to make your own reusable paper towels
Creating reusable paper towels is a simple DIY project that can help reduce waste and support sustainability. For additional DIY tutorials and professional options like Unpaper Towels, these resources offer helpful guidance.
The four methods I've developed represent different skill levels and time investments, allowing anyone to create effective reusable towels regardless of sewing experience. Each method produces functional results, though durability and appearance vary based on construction technique.
| Method | Skill Level | Time Required | Durability Rating | Tools Needed |
|---|---|---|---|---|
| No-Sew Hemming Tape | Beginner | 15-30 min | 3/5 | Iron, scissors |
| Simple Sewn Edges | Beginner | 30-45 min | 4/5 | Sewing machine |
| Double-Sided Towels | Intermediate | 45-60 min | 5/5 | Sewing machine, pins |
| Decorative Edged | Intermediate | 60-90 min | 5/5 | Sewing machine, bias tape |
I personally rely most heavily on the double-sided method for everyday towels because it provides maximum functionality while remaining relatively quick to construct. The combination of different fabrics on each side creates versatile cleaning tools that handle various tasks effectively.
The no-sew method serves as an excellent starting point for testing fabric choices and building confidence before investing in more permanent construction methods. Many people successfully use these towels for months while deciding whether to upgrade to sewn versions.
No-sew method using hemming tape
This method addresses the biggest barrier to getting started—the assumption that sewing skills are required. Using quality hemming tape, these towels provide months of service while requiring only basic tools most households already own.
- Cut fabric to desired size (typically 8×10 or 10×12 inches)
- Fold edges 1/4 inch, then fold again to create clean hem
- Place hemming tape inside folded edge according to package directions
- Press with hot iron for recommended time to activate adhesive
- Allow to cool completely before testing edge security
The key to success lies in choosing high-quality hemming tape designed for frequent washing. I've tested various brands and found that investing in professional-grade tape significantly improves longevity. Cheap hemming tape often fails after 10-15 washes, while quality versions last 50+ wash cycles.
Temperature control during application proved critical for proper adhesion. Following manufacturer instructions precisely, including cooling time, ensures maximum bond strength. Rushing this step by handling towels before complete cooling compromises edge durability.
These towels perform admirably for light to moderate cleaning tasks. While edges may eventually separate with heavy use, they provide an excellent introduction to reusable cleaning cloths and often convince skeptics to invest in more permanent solutions.
Simple sewn version with straight edges
This method represents the sweet spot between effort and durability for most users. Basic sewing machine skills and 30 minutes create towels that withstand hundreds of wash cycles while maintaining professional appearance.
- Cut fabric squares 1 inch larger than desired finished size
- Fold edges 1/4 inch, press, then fold 1/4 inch again for double-fold hem
- Pin corners carefully to maintain square shape
- Sew around entire perimeter using straight stitch 1/8 inch from edge
- Trim threads and press finished towel for professional appearance
The double-fold hem technique prevents fraying while creating clean, professional edges that improve with washing. This method requires patience during the folding and pinning stage, as properly squared corners significantly impact final appearance.
I learned to sew slowly around corners, lifting the presser foot to pivot precisely at corner points. This attention to detail creates towels that look professionally manufactured rather than homemade. Using thread that matches or complements fabric color enhances the finished appearance.
Teaching this method to a friend who had never used a sewing machine demonstrated its accessibility. Within two hours, she had completed six towels and gained confidence to tackle more complex projects. The sense of accomplishment from creating useful household items proved as valuable as the towels themselves.
Double-sided towels for maximum versatility
This method transformed my approach to reusable towels by creating specialized tools optimized for different cleaning tasks. The strategic combination of complementary fabrics produces superior performance compared to single-layer alternatives.
- Cut two fabric pieces same size with complementary properties
- Place fabrics right sides together and pin around edges
- Sew 1/4 inch seam around perimeter, leaving 3-inch opening
- Trim corners and turn right side out through opening
- Press flat and topstitch around entire edge to close opening
The fabric selection process becomes crucial for this method's success. I typically pair terry cloth with smooth cotton, creating one side optimized for absorption and another for streak-free finishing. This combination eliminates the need for multiple single-purpose towels.
Turning the towel right-side out requires patience and careful corner work to achieve crisp edges. Using a point turner or chopstick helps create sharp corners without damaging fabric. The topstitching step not only closes the construction opening but also prevents the layers from shifting during use and washing.
These towels became conversation starters when guests noticed their superior cleaning performance. The visible quality difference between homemade double-sided towels and store-bought alternatives often sparked discussions about sustainable living and DIY projects, spreading awareness beyond our household.
Decorative edged versions for style and durability
This advanced method produces towels that rival commercial quality while allowing creative expression through color and pattern choices. The additional time investment pays dividends in both durability and aesthetic appeal.
- Round corners using template or compass for professional look
- Cut bias tape 2 inches longer than towel perimeter
- Pin bias tape around entire edge, mitering corners carefully
- Sew close to inner edge of bias tape using matching thread
- Trim excess tape and press for finished appearance
Corner rounding requires a template for consistency across multiple towels. I created a cardboard template using a large coin or compass, then traced around it at each corner before cutting. This small detail significantly improves the professional appearance and makes bias tape application easier.
Mitering corners with bias tape demands precision but creates beautifully finished edges that withstand heavy use. The technique involves folding the tape at specific angles to create smooth turns without bulk or puckering. Practice on scraps before working with final towels helps master this skill.
These towels often prompt compliments and questions about where I purchased them. The professional appearance challenges assumptions about homemade items, demonstrating that DIY doesn't mean sacrificing quality or style. Several friends have requested custom sets after seeing these decorative versions in use.
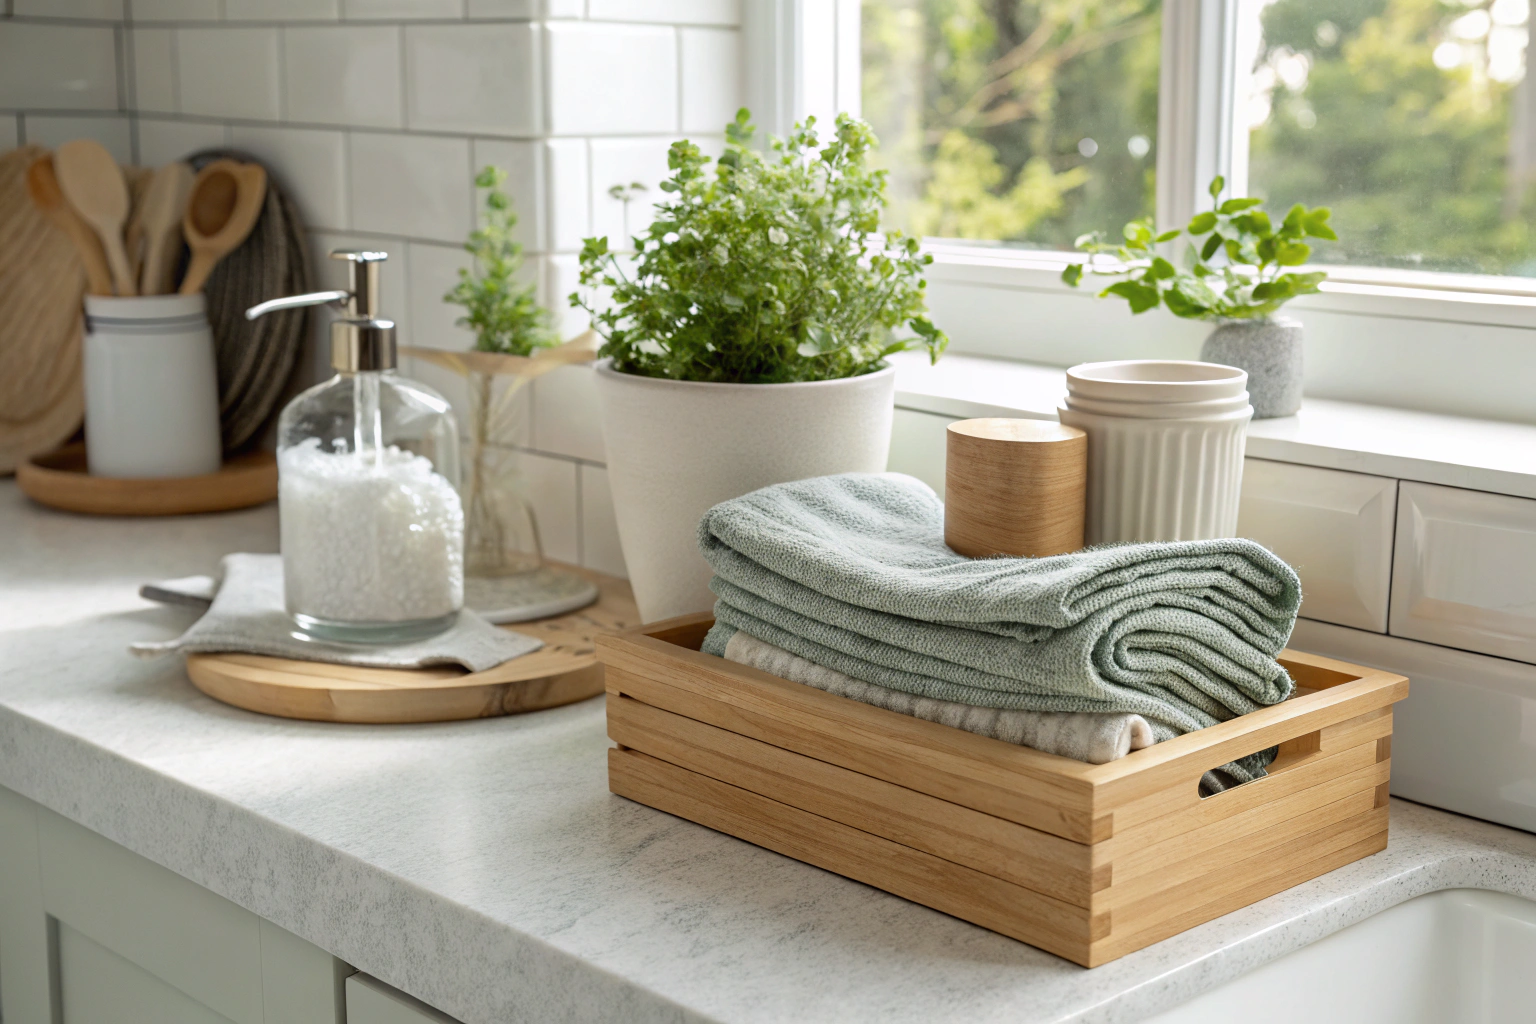
Storage and organization systems that work
Convenience proved essential for successful transition to reusable paper towels. If accessing cloth alternatives required more effort than grabbing a paper towel, family members naturally reverted to disposable options. Through trial and error, I developed storage systems that match or exceed the convenience of traditional paper towel dispensers.
- Countertop baskets: Easy access but takes counter space
- Under-cabinet hooks: Space-saving but may collect dust
- Drawer organization: Hidden storage but requires opening drawer
- Wall-mounted dispensers: Mimics paper towel convenience
- Roll system: Familiar format but requires snap installation
The evolution of our storage system reflected growing towel collections and changing usage patterns. Initially, a simple countertop basket sufficed for our starter set of twelve towels. As the collection grew to thirty towels and usage patterns became established, more sophisticated organization became necessary.
Location strategy emerged as equally important as storage method. Placing clean towels in high-traffic areas while providing convenient collection points for used towels eliminated friction that could derail sustainable habits. The system needed to feel natural and automatic rather than requiring conscious effort or behavior change.
Testing various approaches revealed that the best system varies by kitchen layout, household size, and personal preferences. What matters most is creating easy access to clean towels while managing used ones hygienically until washing.
Creating a snap-together roll system
This innovation addressed the psychological barrier of losing the familiar paper towel roll format. By connecting individual towels with snaps, I created a system that maintains the one-handed convenience of traditional dispensers while providing reusable functionality.
- Measure and mark snap placement 1 inch from one edge
- Install snaps every 8-10 inches along the marked edge
- Install corresponding snaps on opposite edge of each towel
- Test snap alignment by connecting towels in sequence
- Roll completed chain and mount on standard paper towel holder
Snap placement precision determines system functionality. Measuring carefully and using a template ensures consistent spacing across all towels. I learned to test-fit snaps before final installation, as slight misalignments become magnified when connecting multiple towels in sequence.
The system works beautifully for light cleaning tasks but has limitations for heavy-duty use. Snaps can separate under pressure, and the connection points create weak spots that may affect durability. However, the psychological benefit of maintaining familiar dispensing format often outweighs these minor drawbacks.
This system proved particularly valuable during the transition period when family members were still adapting to reusable alternatives. The familiar format reduced resistance and helped establish new habits without requiring dramatic behavior changes.
Maintenance and how I wash, dry, and extend the lifespan of my reusable towels
Proper care determines whether reusable towels last months or years. Through extensive testing and occasional failures, I developed maintenance routines that maximize fabric life while ensuring sanitation and performance. The key insight was that different fabrics and soil levels require tailored care approaches rather than one-size-fits-all laundering.
- Wash after 1-3 uses depending on mess type and fabric
- Use hot water for sanitization, warm for regular cleaning
- Add white vinegar to rinse cycle for natural freshening
- Line dry when possible to extend fabric life
- Store completely dry to prevent mildew and odors
The washing frequency depends entirely on usage context. Towels used for dusting or light spills can serve multiple times before washing, while those handling raw meat cleanup require immediate laundering. I developed a simple sorting system using different colored collection containers to track usage intensity and appropriate washing schedules.
Temperature selection balances sanitization needs with fabric preservation. Hot water effectively kills bacteria and removes grease but can accelerate fabric wear and fading. I reserve hot water for heavily soiled towels and those used in bathroom or food preparation areas, using warm water for general cleaning cloths.
White vinegar addition during the rinse cycle eliminates odors naturally while softening fabrics without chemical fabric softeners that can reduce absorbency. This simple addition extended towel lifespan significantly by preventing the musty odors that often develop in frequently washed cleaning cloths.
Stain removal techniques for different messes
Specific stain removal protocols developed through necessity when favorite towels encountered challenging messes. Rather than accepting stains as inevitable, I experimented with natural removal techniques that align with overall sustainability values while proving remarkably effective.
| Stain Type | Treatment Method | Success Rate |
|---|---|---|
| Food/Grease | Dish soap + cold water pre-treat | 95% |
| Coffee/Tea | White vinegar + baking soda paste | 90% |
| Blood | Hydrogen peroxide + cold water | 85% |
| Ink/Marker | Rubbing alcohol dab test | 70% |
| General stains | Sun bleaching + lemon juice | 80% |
The emergency protocol for immediate stain treatment proved crucial for maintaining towel appearance. Acting within minutes of staining, particularly for protein-based stains like blood, dramatically improves success rates. I keep a small bottle of hydrogen peroxide and liquid dish soap in the kitchen for immediate treatment.
Sun bleaching emerged as surprisingly effective for general staining and fabric brightening. Hanging damp, pre-treated towels in direct sunlight for several hours naturally bleaches most stains while freshening fabrics. This technique works particularly well with lemon juice pre-treatment for organic stains.
The success rates reflect actual experience rather than theoretical effectiveness. Some stains, particularly ink and permanent marker, require multiple treatment attempts and may never completely disappear. However, most household stains respond well to prompt treatment with common household items.
Frequently asked questions about reusable paper towels
Real-world experience using reusable paper towels generated numerous questions from family, friends, and visitors who observed our system in action. These questions often revealed concerns and misconceptions that could prevent others from making similar switches, making it important to address them directly with practical, experience-based answers.
The most common concerns centered around sanitation, convenience, and social acceptance. Many people worried about bacteria growth, questioned whether cloth could match paper towel convenience, or felt embarrassed about using "rags" instead of disposable products. These concerns proved largely unfounded once proper systems were established.
How many reusable towels do I need?
Determining the right quantity requires balancing convenience with practicality. Too few towels creates stress when running low between wash cycles, while too many creates unnecessary laundry and storage challenges. Through experimentation and feedback from others, I developed guidelines based on household size and washing frequency.
- Single person: 8-12 towels minimum for weekly laundry cycle
- Couple: 12-18 towels to accommodate different usage patterns
- Family of 4: 20-30 towels for comfortable rotation system
- Large family (5+): 30-40 towels to prevent running out between washes
- Starter recommendation: Begin with 50% more than calculated need
The calculation process involves tracking current paper towel usage for one week, then converting to reusable equivalents. One reusable towel typically replaces 3-5 paper towels depending on the mess and fabric absorbency. This baseline provides a starting point for quantity estimation.
Personal usage patterns significantly impact requirements. Families with young children, frequent cooking, or pets typically need larger quantities. Conversely, households with minimal cooking or cleaning needs can function with smaller collections. The key is having enough towels to avoid anxiety about running out.
I recommend starting with more towels than calculations suggest, then adjusting based on actual usage patterns. It's easier to store excess towels than to feel constantly short of clean ones. Many people find their optimal quantity through gradual collection building over several months.
Your first month without paper towels and what to expect
The transition period proved more challenging than anticipated, with unexpected obstacles and gradual adaptation rather than immediate success. Understanding this adjustment process helps set realistic expectations and prevents premature abandonment when initial enthusiasm meets practical challenges.
- Start with more towels than you think you need for easier transition
- Designate specific towels for specific tasks to build habits
- Create simple systems for handling used towels throughout the day
- Consider gradual transition by reducing paper towel purchases slowly
- Address family resistance with patience and clear communication
Week one brought enthusiasm and determination, with everyone eager to try the new system. However, muscle memory for grabbing paper towels proved stronger than expected, leading to moments of confusion and occasional reversion to old habits. This was completely normal and expected.
Week two introduced practical challenges as the novelty wore off and real-world testing began. Questions arose about handling different mess types, managing used towels, and maintaining adequate clean towel supplies. This period required patience and system refinement based on actual usage patterns.
By week three, new habits began forming naturally. Family members started automatically reaching for cloth towels and developing personal preferences for different fabric types or sizes. The system started feeling natural rather than forced, marking a crucial turning point in the transition.
Week four typically brings confidence and satisfaction as the new system proves its effectiveness. Cost savings become apparent, environmental benefits feel tangible, and the superior cleaning performance of quality fabrics demonstrates clear advantages over disposable alternatives.
Getting family members on board
Family cooperation emerged as the critical success factor that determined whether sustainable changes became permanent lifestyle shifts or temporary experiments. Without buy-in from all household members, even the best systems eventually fail due to inconsistent use and passive resistance.
- DO: Involve family in choosing fabric colors and patterns
- DO: Explain environmental benefits in age-appropriate ways
- DO: Create designated storage spots everyone can access
- DON’T: Force immediate complete elimination of paper towels
- DON’T: Criticize family members for initial resistance or mistakes
Initial resistance typically stems from concern about change rather than opposition to environmental goals. Involving family members in fabric selection and system design creates ownership and investment in success. Children particularly enjoy choosing colors and patterns, making the project feel fun rather than restrictive.
Age-appropriate environmental education helps build understanding and motivation. Young children respond to simple concepts like "helping trees" and "making less trash," while teenagers might appreciate learning about manufacturing impacts and personal carbon footprints. Adults often need financial motivation alongside environmental benefits.
The gradual transition approach proved more successful than immediate elimination of paper towels. Keeping a small emergency supply available reduced anxiety while new habits formed. Most families naturally reduced paper towel use as cloth alternatives proved their effectiveness, making complete transition feel organic rather than forced.
Patience during the adjustment period prevented conflicts that could derail the entire project. Family members occasionally forgot or reverted to paper towels, and responding with understanding rather than criticism maintained positive momentum toward sustainable habits.
Taking your sustainable kitchen to the next level
The success with reusable paper towels created momentum for additional sustainable kitchen changes that built upon established habits and systems. Each improvement reinforced others, creating a synergistic effect that made the sustainable kitchen feel natural and effortless rather than burdensome.
Extend sustainability to floors with my DIY Floor Cleaner and reusable mop pads.
- Beginner: Cloth napkins, reusable food storage bags, bamboo utensils
- Intermediate: Beeswax wraps, glass storage containers, compost system
- Advanced: Zero-waste bulk shopping, homemade cleaning products, water filtration
The progression from reusable paper towels to comprehensive sustainable kitchen systems happened organically over two years. Each successful change built confidence and knowledge that made subsequent improvements feel achievable rather than overwhelming. The key was allowing natural momentum rather than forcing rapid transformation.
Cloth napkins became the logical next step, using similar fabrics and construction methods already mastered for paper towels. This change eliminated another disposable product while creating attractive table settings that enhanced meal presentation. The same storage and washing systems worked for both products.
Beeswax wraps replaced plastic wrap and aluminum foil, extending the reusable concept to food storage. Making these wraps using similar techniques and fabric sources created satisfying continuity in the sustainable kitchen project. The combined elimination of paper towels, napkins, and food wraps significantly reduced kitchen waste streams.
The unexpected benefit of these combined changes was discovering how sustainable practices enhanced rather than restricted kitchen functionality. Better food storage, superior cleaning performance, and reduced shopping frequency for disposable products created a more efficient and enjoyable cooking environment.
Advanced practices like bulk shopping and homemade cleaning products emerged naturally as knowledge and confidence grew. The foundation established with simple changes like reusable paper towels provided the skills and mindset needed for more complex sustainable systems. The journey from single product swap to comprehensive sustainable kitchen took time but felt natural and rewarding at each stage.
Frequently Asked Questions
To make reusable paper towels, you’ll need absorbent fabrics like cotton, flannel, or terry cloth, along with scissors, thread, and a sewing machine or needle for the sewn version. For a no-sew option, include snaps, Velcro, or fabric glue to secure the layers. Optionally, add decorative elements like bias tape for edges to enhance durability and appearance.
Reusable paper towels reduce household waste and environmental impact by eliminating the need for single-use disposables, helping to conserve trees and lower landfill contributions. They are cost-effective over time, as one set can replace hundreds of rolls, saving money on frequent purchases. Additionally, they are often more absorbent and durable, making them versatile for cleaning tasks while being easy to wash and reuse.
Yes, flannel is an excellent choice for reusable paper towels due to its soft texture and high absorbency, making it ideal for wiping up spills or drying surfaces. It pairs well with other fabrics like cotton batting for added thickness and can be easily sewn or snapped together. Just ensure it’s pre-washed to prevent shrinkage and maintain its effectiveness over multiple uses.
Start by cutting two layers of fabric, such as flannel and terry cloth, into 11×11-inch squares, then place them right sides together and sew around the edges, leaving a small gap to turn it inside out. After turning, topstitch the edges to close the gap and add durability, and optionally attach snaps to connect multiple towels into a roll. This method creates absorbent, machine-washable towels that mimic disposable ones but last much longer.
For a no-sew version, cut absorbent fabrics like cotton or microfiber into desired sizes, then layer them and use fabric glue or iron-on adhesive to bond the edges securely. Attach snaps or Velcro strips to the corners so they can be linked together like a roll for easy storage on a paper towel holder. This quick method is perfect for beginners and results in eco-friendly towels that can be washed and reused repeatedly.
The best fabrics include cotton flannel for softness and absorbency, terry cloth for scrubbing power, and birdseye cotton for quick-drying properties, often layered together for optimal performance. Avoid synthetic materials that don’t absorb well, and opt for organic or upcycled fabrics to enhance eco-friendliness. These choices ensure the towels are durable, effective for cleaning, and easy to maintain through washing.